Take note!
To schedule a manual mailing with an opt-in, you first need to have your opt-ins properly implemented. More information about opt-in
In this guide
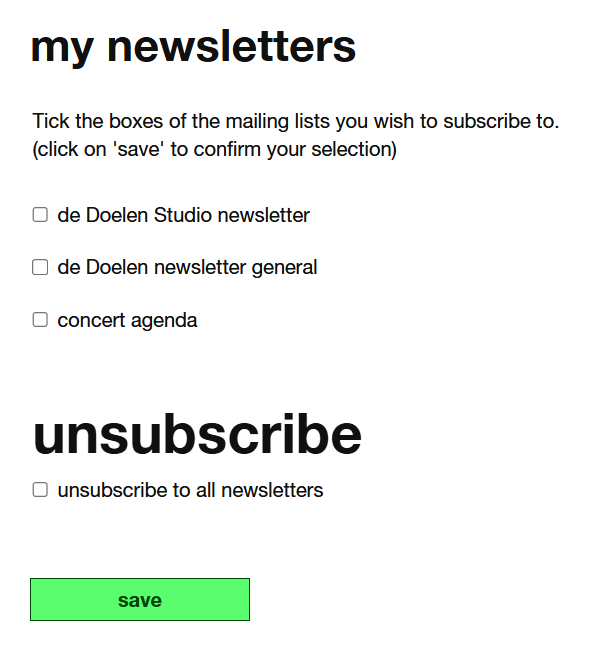
When your opt-ins are set up, Visitors can opt-in for different services you provide in the Communication preferences of their Peppered account.
Example Communication Preferences in My Account:

It is important to make sure the explanation of each opt-in is clear so people know what they are signing up for (Marketing > Opt-ins module).
Every mailing you are planning to send via the Peppered Platform will have to be sent according to the proper GDPR permission. Every mailing needs to comply with one opt-in (there are few exceptions, such as cancelled events and service mails).
Scheduling with pre-built Query
Step 1: Select Mailing
Go to Dashboard > Manual Mailings > Find the mailing you would like to schedule.
Step 2: Set Status
Select Status Not Sent: Schedule or open the mailing and select Test and Send.

Step 3: Set the Mailing schedule
Complete the following fields:
- Schedule: Select a date and time you want the Newsletter to be sent.
- Select Query from Query Builder:
- If you have already built your Query in Search for and select the query you would like to send your mailing to. The drop down will list all Queries that have the toggle “Use in mailings” switched on.
- Or select Create / edit queries to build a new query. For more information on building your queries, see our Using Query Builder Article.
Once a query has been selected it will show how many visitors have been selected to receive the mailing.

If you want to check recipients before pressing send:
- From the Mailing screen select Create / edit queries.
- Select View results. This opens a list of 100 visitors who have been selected. You can click any of the email addresses to open their visitor accounts.
- You can also Export to CSV the results.
Good to know! Downloading a .csv can take some time (up to a minute), depending on how many recipients the database contains.
IMPORTANT NOTE! Make sure to always delete your downloaded files from your computer asit contains e-mail addresses and other personal data.
Step 4: Schedule Mailing
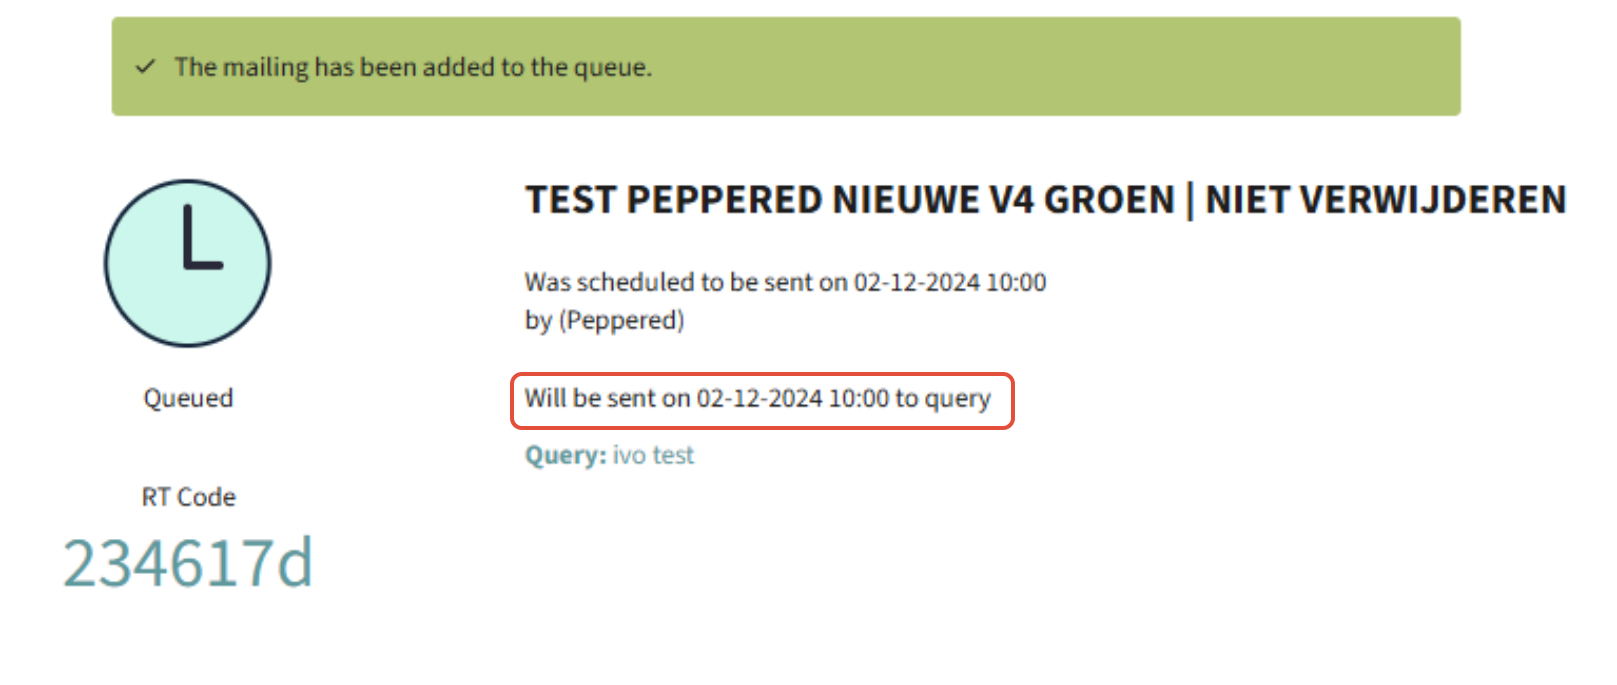
Once you have completed the above. Select Send it.
Your mailing is now queued to be sent.

How to Cancel a scheduled Mailing
- Go to Dashboard > Manual Mailings > Find the mailing you would like to schedule.
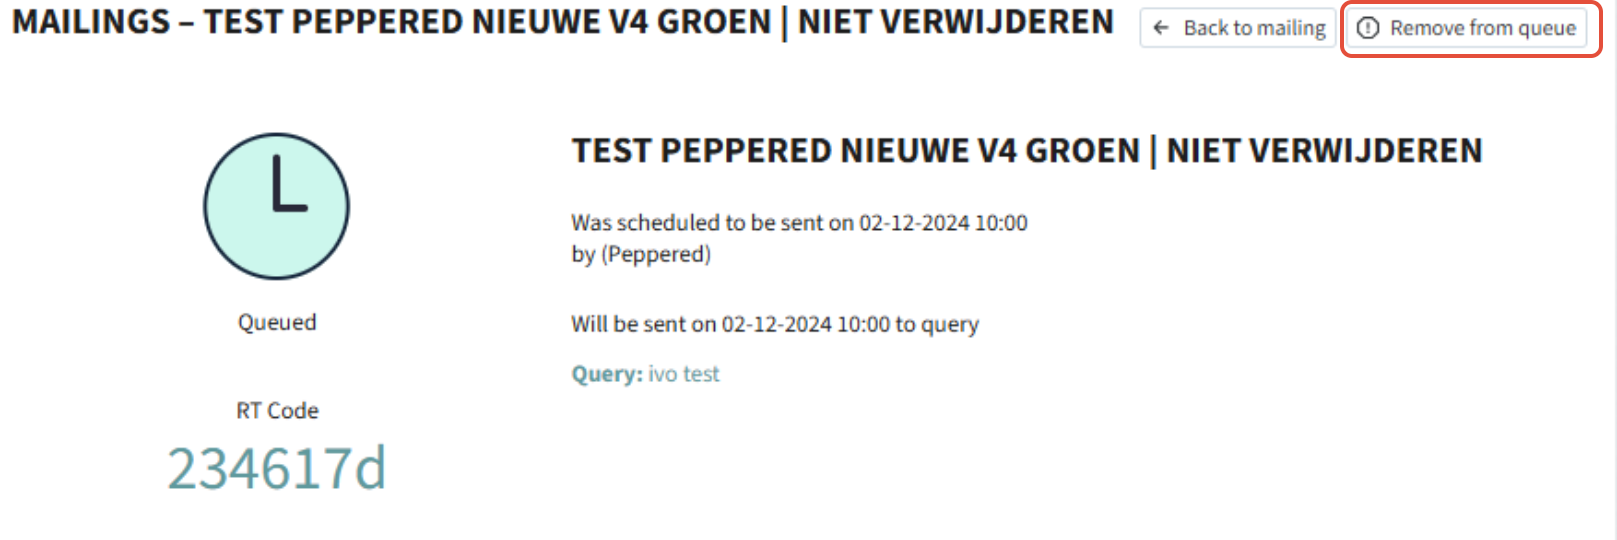
- Select Status Queued.
- On the Top right select Remove from queue.

Your mailing has been removed from the Queue and has the status Not sent: Schedule.
